It's day two of holiday week here on Laura Neuzeth. Today I have an easy nail art picture tutorial featuring one of my favorite color combinations- black and gold. This screams holidays for me without having to draw snowmen or reindeers on your nails. If you want a more edgy holiday nail art then this is the post for you. You can rock a different design on each nail or just do one design on all your nails. It's all up to you!

This is what you'll need in order to recreate this nail art. Black and gold nail polish, I'm using Sephora by O.P.I in What's A Tire Jack? Matte and Barry M Nail Paint in 320 Foil. Two glitter polishes preferably one gold and you can use whatever other color you like, I just felt like a cranberry shade fit the holiday theme better. I'm using a random gold glitter polish that I bought for 1€ at a metro stop in Paris and Zoya nail polish in Alegra. To seal all your hard work so it can last longer you're going to need a top coat, I'm using the Quick Dry Topcoat by Jordana. Finally you're going to need
nail art tape which you can get on eBay for less than $2 and a cosmetic sponge. Nail file and cuticle pusher are optional I just really needed to shape my nails and push my cuticles in.
Let's start off by painting our nails. Easy right? You can do two coats of polish to get a very opaque nail but I want my nails to last all week so I did 4 (don't judge). I painted my nails in alternate colors to make things a little interesting.
This is how my nails looked when I was done painting them. Don't worry about being neat because you can always clean up the cuticle area with nail polish remover after you're done with your nail art.
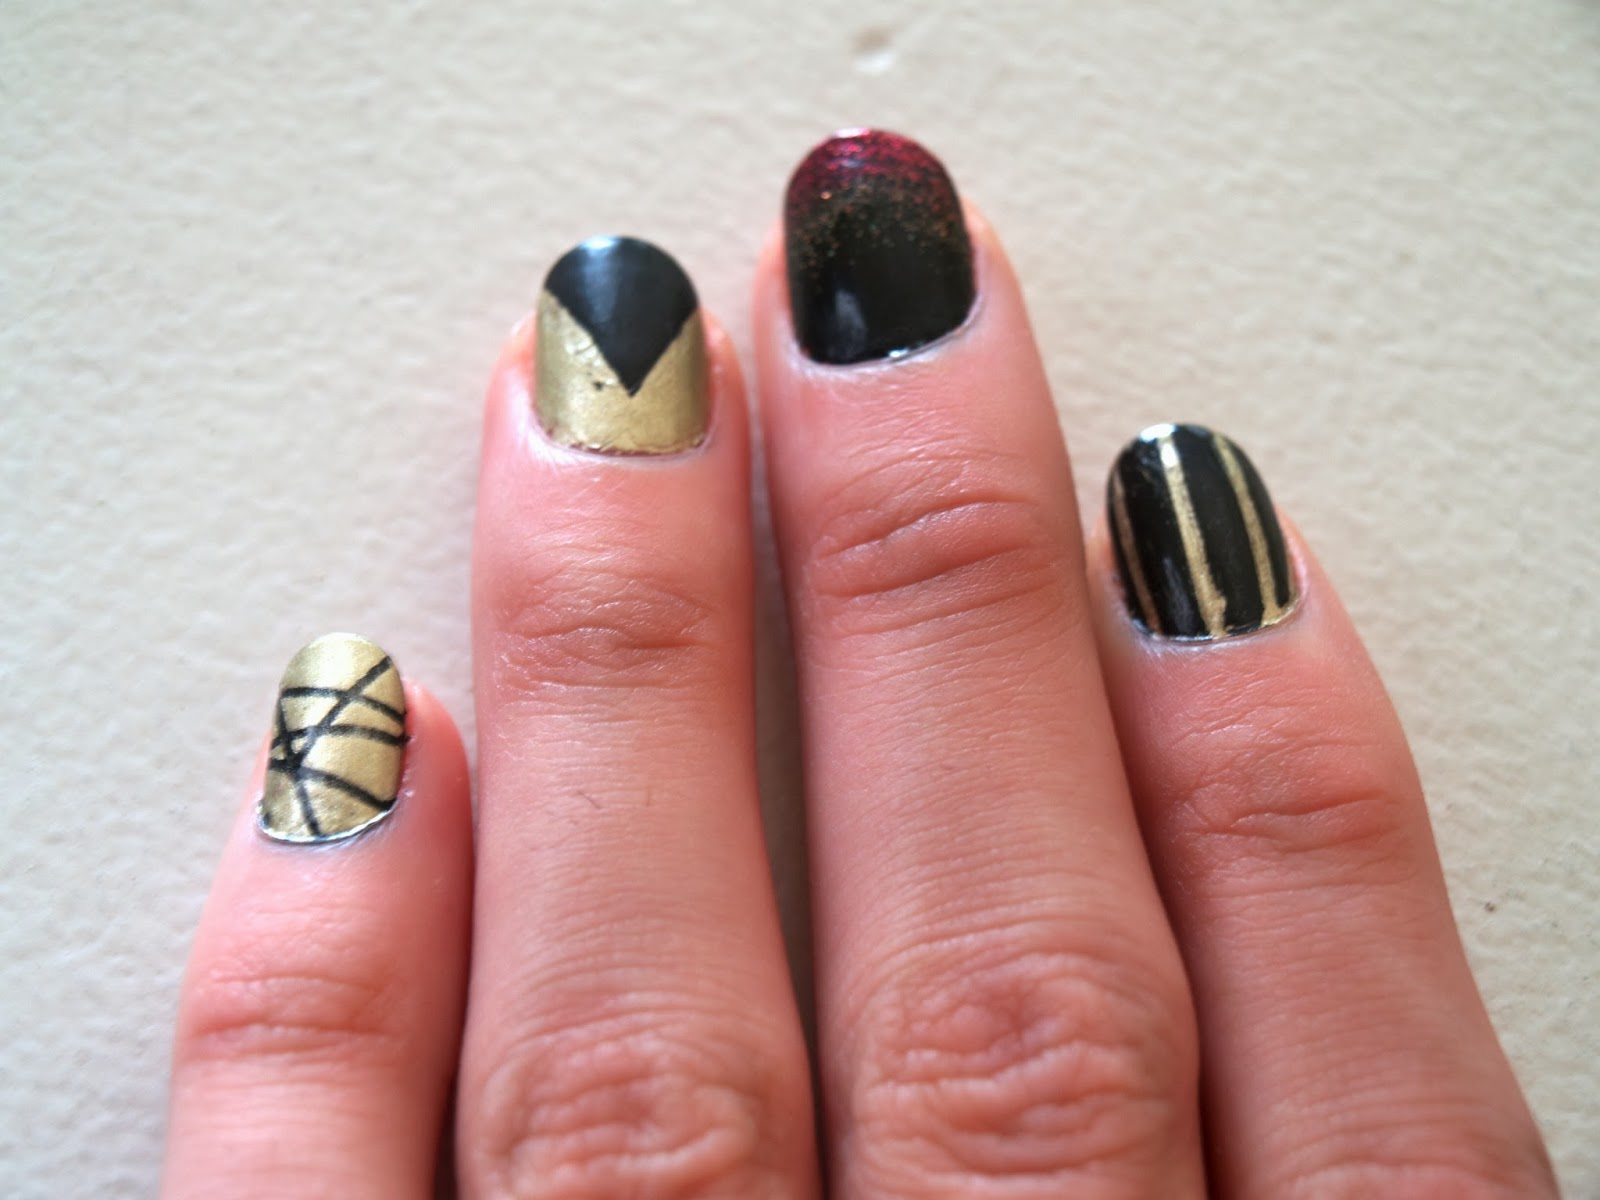
We're going to start off by applying the tape on our nails. You can create any design that you want I just decided to go with random stripes, a triangle, and vertical stripes. Make sure your nail polish is completely dry before sticking on the tape.
Now begin painting your nail. For the random stripes and vertical striped nails you're going to paint your nail as normal. In order to create the triangle you have to be a little careful so you don't get any of the black polish in the gold areas. It's not too hard even it the tape is rather thin.
When you're done just begin taking off the tape, don't let it dry completely. As you can see we now have a nice design on three of our nails.
I wanted the middle nail to have a glittery tip so I dabbed some of the glitter polish on a metal tray (I'm using an old candle lid). With the cosmetic sponge just pick up the polish and you'll be dabbing the sponge on your nail. I did a touch of the cranberry glitter on the very top of the black nail. For the gold middle nail on my right hand I just did the cranberry glitter since the gold glitter wouldn't be noticeable.
And finally on my thumb I just painted half of the nail with the other color, in this case it was gold. All you have to do is repeat
all those steps in the other hand and
add some top coat.
That's pretty much it! This is a very simple nail art that will look amazing at any holiday party. It's an unexpected nail art featuring colors that will go with a lot of outfits. The gold is festive while the black is eternally chic, and together you have a festive but edgy nail art. I hope you enjoyed this holiday nail art. Let me know in the comments below if you've thought of a nail polish that you're going to wear on Christmas? I don't have the slightest idea what polish I'm going to wear but I may want to rock black and gold nails for a second week in a row.


No comments :
Post a Comment